Showing posts with label Project Bump. Show all posts

Monday, November 2, 2015

Halloween: Dragon the Hippo Speaks

Clio and Phineas are both off chasing Taco, now that the little guy can walk. And Clio doesn't let me play on the computer very often because she says Dragon Hippos get into trouble. But luckily, she left her laptop open, so I can tell you about Halloween.

The whole herd loves costumes, so we knew that Taco's first Halloween would be a big deal. And naturally, Taco wanted to dress up as me, his trusty Dragon Hippo! So, Clio made him a costume under my supervision.


Hippo in Charge!


I don't understand why there isn't a hippo costume pattern but Clio used OOP M6812 and made a few changes to it to make it more hippo-tastic. I think she did a really good job with the feet.


Hippo toes


It was very cute when it was done.


The resemblance to me is striking!


But Halloween was a very noisy day. It was a bit rough on Taco. Clio says, he is used to our quiet house and not the mayhem of his noisy cousins.


Can you spot Waldo in this photo? 

Plus, Taco doesn't like wearing hats. Even hippo costume hats!

So, Phin wore it for him.


Not happy!  Phin is a good sport. 

So, Clio let Taco take his costume off and just watch the other children come to the door for candy rather than go trick-or-treating. She says that candy isn't good for knit hippo teeth, anyway, and the sugar makes us hyper.


Taco top knot


So, we had fun playing on the floor instead.  And Taco wore his Halloween bib.  


Wild haired baby!


Next year I think we should add a dragon cape to his costume so he can fly!

Notes from Clio: Errr, thank you, Dragon, for filling everyone in. A few details... This is McCalls 6812, which is out of print, but adorable. I just altered the tail, hat and feet features to make it hippo-like. Thinking that I might have an unwilling baby on my hands, I didn't want to invest too much on this costume, so I used very inexpensive fleece and lining from Hancock Fabrics.  I also cut some corners by skipping steps like stay stitching and using my serger for some parts of the body, as well as busting out the hot glue gun for the felt features rather than sewing them on. We'll see if Taco likes Halloween in the future. This year it was all a bit overwhelming for him and he was happier just to toddle around my parent's house.

Wednesday, July 22, 2015

Ring Sling for a Cool Dude

This is just a quick post to say, "Look I made another ring sling!"

You remember the ring sling I made during the SHB Sew Along, right? I use it every day.


Details here. 

Well, I've sewn another one. This time it's for my brother-in-law.  My younger sister is expecting a boy, due in mid-August. So an all black ring sling was requested.  Here is Phin happily modelling it with Taco, a more reluctant model.


Didn't we do this already, Mama? 

For this sling, I once again used a tutorial from MayaWrap.  They have a really well designed shoulder, which Phin actually didn't quite get on his shoulder.


Not quite on the shoulder

Phin doesn't use my ring sling, so he was not used to wearing Taco. But they lumped on through the photo shoot. Thankfully, for novice baby-wearers there are many resources on line. Seriously. Just google it.


And we're done

I mentioned how beneficial babywearing is for babies when I posted my own sling. Now that I've been wearing Taco for a few months, I have to say that it is beneficial for me, too. Taco started crawling right before I went back to work. So, if he is on the floor, he is going, going, going and pulling himself up to standing on furniture, toys, walls... But he is very content as my sling-worn sidekick. This frees me to bake, putter around the house or get things done when I have to, without having to watch the little guy like a hawk. In social situations, having him on my hip deters people from touching or kissing him and lets me mingle without having to worry that the situation is overwhelming - he's right there, content and secure being on my hip. Sure, I could hold him, but the sling is easier and much more comfortable for longer stretches of time since it distributes his weight.

Anyway, I hope my bro-in-law gets a good amount of use from this cool and understated sling. 

Tuesday, July 7, 2015

M6991: Everything's Coming Up Rainbows Top

PI'm settling back into the hum of work life, and my little family is starting to work out our home routine, too. It seems like a good time to turn my thoughts back to sewing and blogging. Hooray! And it seems like a good week for rainbows as we celebrate marital equality here in the US (yay love! yay families! yay equal rights!), doesn't it?

I've been wanting to sew McCall's 6991 since it's release.

M6991 Faux Wrap Top

However, finding an appropriate fabric was a bit of a challenge. You see, the front of the top is all one piece of fabric that has been gathered and folded to create the mock-wrap drape.  This means that the front of the top shows the right side of the fabric on one half and the wrong side on the other. So, you need to use a fabric that doesn't have an obvious right side. This eliminated most of the fabrics in my stash.


I decided to try the top with a loud, rainbow-striped poly-cotton blend that I picked up from FabricMart some time ago.  I wasn't sure how the stripes would fall, but it worked out exactly how I'd hoped. The fabric is definitely much more crisp than ideal. It doesn't drape the way it ought, but I like the effect nonetheless. It's a cool and crisp top. If I sew it again, I would use a rayon challis, blouse weight silk or something like that for better drape.

I sewed view A minus the pocket and with the shirttail hem of view B in a straight size 12. I didn't even alter for length. The only thing I don't like about the pattern is that the armscye is very low and my bra shows if I don't wear a cami underneath the top. I've actually been wearing the top with a sportsbra-style nursing bra, which has extra coverage; I don't mind if it shows.

The pattern was very easy to sew. The only part that was at all a challenge was figuring out exactly how to fold the front piece over to create the wrap effect in the front. All of the markings were correct, as were the instructions. So, if you make this, just be sure to carefully mark your fabric and stick to the instructions, even if you can't quite see where they are going.


Overall, I'm pretty happy with this top. It's fun and summery. But I do worry a little that it makes me look a bit wide and boxy. I may actually sew a second version for work in a more appropriate fabric, possibly with sleeves. In a more drapey fabric, I think this top would be much more figure-flattering.


But for now we'll call this a win. It's fun and different, which IMHO is what summer dressing is all about.

What are you sewing as the days heat up? Or cool down if you are headed to winter?

Monday, March 16, 2015

Donna Karan Nursing Top

Apparently, Monday is my day for posting! So this week, I'm sporting another non-nursing/non-maternity top that a minor tweak has made perfect for nursing. Really, why stick to "maternity" or "nursing" clothes when I can make fun things like this that I'll be happy to wear nursing or not?


This is V1282, a Donna Karan cowl neck top. Like my last nursing make, this is a pattern "encore" for me - I first made it about 2 years ago (here and pictured below left). As much as I loved the first version, it never found a steady place in my wardrobe for some reason.  My new version, however, has already been worn twice in two weeks.

Original on the left; encore on the right.

You may recognize the fabric from this maternity dress. I had about a yard leftover, which was perfect for this top. The only change I made to the pattern, aside from adding a little wiggle room at the hips, is that I didn't sew the center of the cowl up as high, which you can see compared to the original. This necessitates wearing a cami underneath for a layered look, but makes the top perfect for nursing.

This week I was thinking about how major changes to my wardrobe/style have accompanied all my major life changes - high school uniform to jeans and concert tees in college, to first job suits as a young adult, to really crafting my own style as a married career gal in my 30's, and now new mom on maternity leave. In addition to the change in my identity and lifestyle needs, the normal, healthy physical changes caused by pregnancy, birth and breastfeeding means that most of my clothing doesn't fit at the moment - physically or emotionally. And while I have some insecurities - like will my leather jacket ever fit again? - I'm trying to embrace the new and use it as a springboard to expand and experiment with my style rather than seeing limitations. 


Easy knit tops have never been my thing, but I really like this top. I see it as a good segue between the old and new - very much my style, but also practical for the here and now.

What are your thoughts about changing style and life changes?

Monday, February 23, 2015

I Sewed! I Sewed! Woo hoo hoo!

I bet you thought that I was finding new motherhood so overwhelming and exhausting that all thoughts of sewing and knitting had fallen by the wayside.

Not true!


Okay, maybe half true. Or true on some days. But there are occasional days where there are nice long naps, and on those days I sew!

This is M6552, a McCalls Fashion Star pattern that I first sewed last summer for my mom as a maxi dress in wax cloth.  I sewed my own version in a cotton jersey knit that I bought as part of a haul from Fabricmart while pregnant.


After Taco's birth it rapidly became apparent that I didn't have enough tops for nursing or enough casual clothes. That's what happens when you dress and sew for a career and date nights. With it's plunging v-neck, I thought this pattern might fit the bill for fun casual nursing attire if I made it shorter. I've been wearing it with either a knit cami or a soft, sports bra style nursing bra underneath.

I made a few minor changes to the pattern. Instead of a drawstring I used elastic at the empire waist. Obviously, I also shortened the length. I was going for a long-ish tunic length, but this ended up being more of a short dress on me, which is just as happy an outcome. Like my mom's version, I shortened the bodice by 1.25 inches. Aside from that, I added an extra 2 inches to the center front which I gathered in the middle to gracefully camouflage any post-baby jiggle. My thinking is that even when I don't need the extra wiggle room, this will continue to be flattering as my body finds it's new normal.


This pattern is a real winner and perfect for where I am right now.  It's easy to sew, requires little fitting and is pretty versatile.  I could see myself sewing this in different lengths and tinkering with the sleeves - longer, shorter, or cuffed. For the time being, this is the sort of sewing I will probably stick with: easy to fit and sew patterns that I can nurse in.  

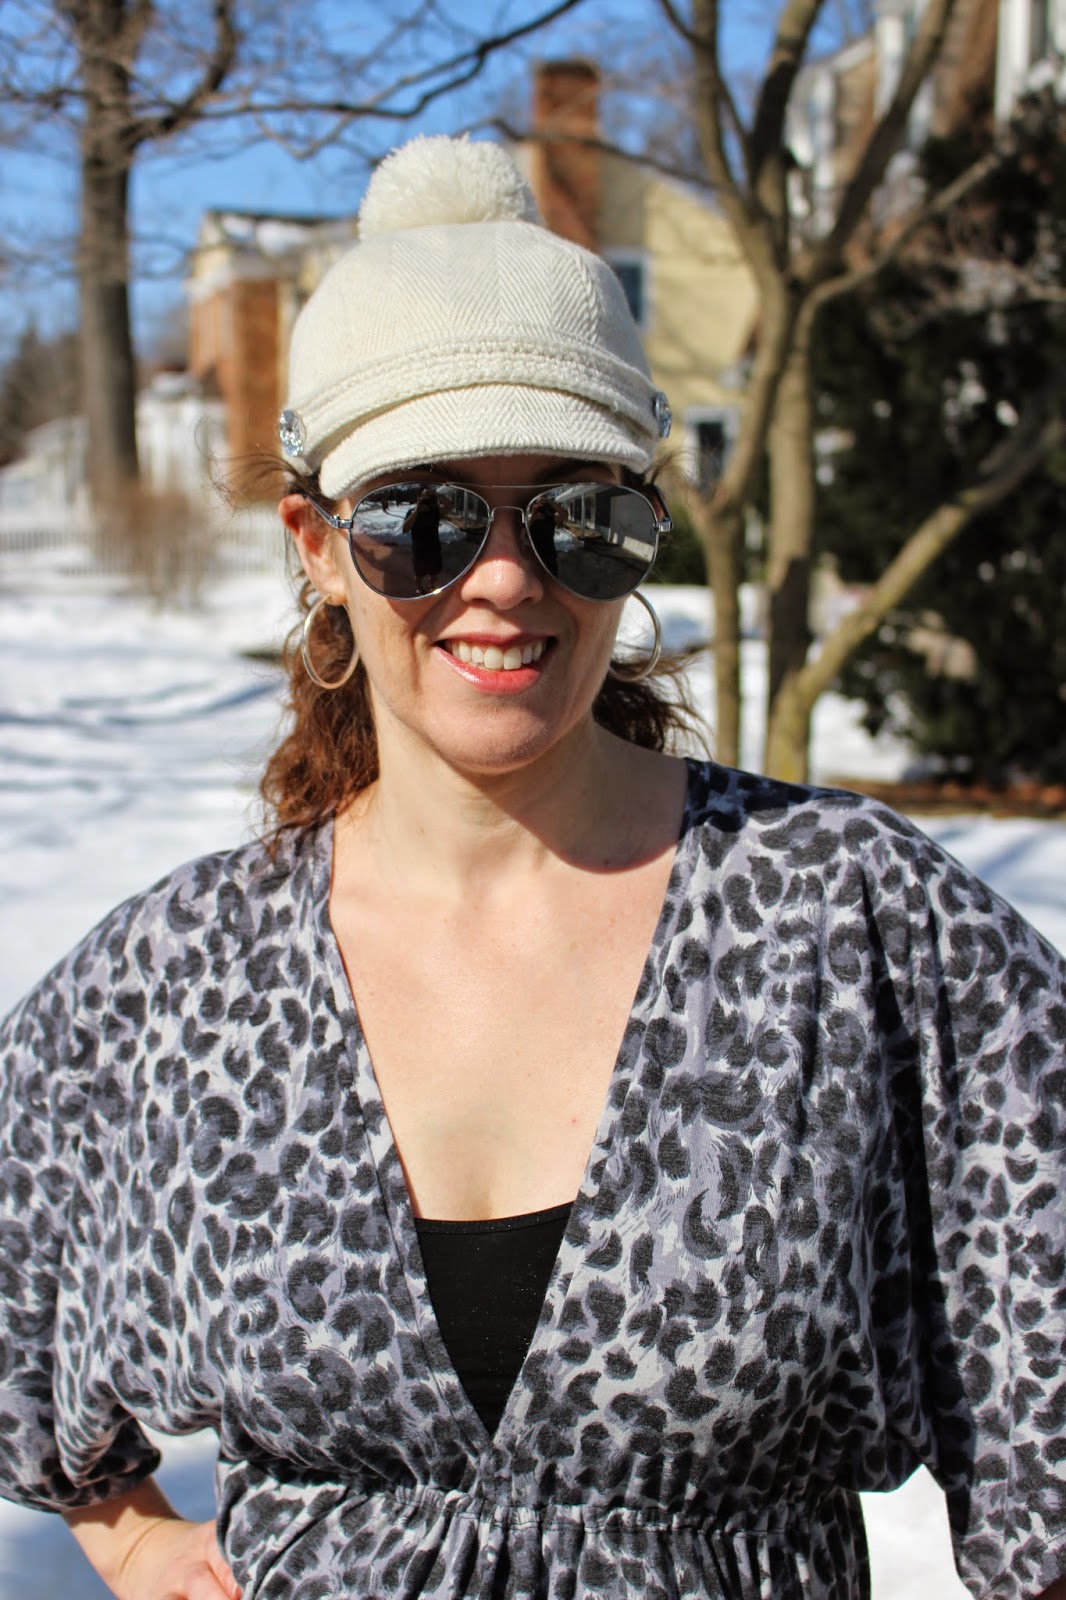
I finished this top almost two weeks ago, but it took more than a week to take photos. Clever girl tat I am, I waited until the temperature was in the single digits. Hence, the hat. I actually have three other projects to post just as soon as I can spend a little time with the camera.  So, do stay tuned!


Brrrrrrrrr


Wednesday, January 14, 2015

Last 2014 Sew: Another Cardi-Shrug

Before I try to do a belated year-end summary, here is one last 2014 sewing project...


With all the sewing and knitting I crammed into the last few weeks of pregnancy, this was the one project that was finished just under the wire. Truly. I hemmed the sleeves while in early labor.

It's another Simplicity 2603. I used the last bit of my precious stashed modal fabric to sew this one up. I didn't have enough for the long version that I made the first time around. So, this is view D with the sleeves shortened to elbow length. I've been wearing this and the striped version non-stop now that Taco has arrived.


For this version I added a hook-and-eye hook to the end of the front drape and a sneaky thread bar hiding along each shoulder seam.


I had seen some RTW "nursing wraps" that had a button or snap closure similar to this. It enables you to drape the front over to the opposite shoulder for nursing. I thought it was a great idea but didn't feel like paying the mark up that seems to apply to all "maternity" and "nursing" clothing. Really, there is nothing "nursing" about this except for the hook and bar. 


I'm kind of pleased with myself for managing to put on a bit of lip gloss for these otherwise no frills, indoor, with-a-flash photos. What you see is what you get when you have a 5 week old.What you will not see with this cardi-wrap is any nursing slip ups!

Friday, November 28, 2014

And "Hers" Diaper Bag!

It took a few days to photograph and post, but I did finish all but a little hand sewing on Monday, one day before my due date. Yeah, no Raspberry at due date +3, which is very normal for first babies. But we've now got two diaper bags. So, we're as ready as we'll ever be!


Love this!

I LOVE how this bag turned out. Before you say anything, yes, I recognize that it's white.  A white diaper bag is just asking for trouble.  But the faux leather/faux basket weave fabric that I used for the bottom and outside pockets is very easily cleanable with a damp sponge or wipe. So, I'm hoping that it will hold up fairly well.


This is my fourth version of Butterick  B5005 (last sewn here). The versions on the Butterick website are very sweet, but I think I've shown that this can be a really chic bag, whether made as a diaper bag or a weekender. This is the first time I've sewn it using two different outer fabrics, which saved me the effort of having to pattern match the pockets, which I did in previous versions.  The second outside fabric is a white and silver/grey home dec weight fabric. Both outer fabrics are from Mood. I used a red cotton twill from Fabric.com to line the bag.

Again, there is nothing about this pattern, aside from the optional accessories, that specifically makes it a diaper bag. And after four times sewing it, I've really tweaked it to my liking, using hardware and altering the pockets to suit my needs.  But even out of the envelope, this is a terrific bag pattern.


I've really developed an expensive hardware habit. For this bag and it's accessories, the Lampo zipper, feet, magnetic snaps, D-ring, lobster claw and webbing straps all came from Botani, which has significantly expanded it's offerings over the last 1-2 years.

After making a zippered welt pocket for the inside of Phin's bag, I decided that I needed one too.


I sewed the other side of the lining according to the pattern, with a nice sized divided pocket which is perfect for diapers, creams and wipes.


Accessories
I also sewed some fun accessories for myself.


First, I made a great little fold over clutch like the one I made with the last version of this bag. This time I placed the magnetic snap closer to the top so the folded bag would be larger.


I also included a lanyard with a lobster claw on the inside of the bag so I can clip the clutch in by it's D-ring, like so...


Or closer up...


The second accessory I made was a diaper clutch - basically a changing pad with a pocket for diapers.


I looked at several diaper clutch or changing pad tutorials on-line, but there really weren't any that had all the elements I wanted. So, like with Phin's, I made this to the dimensions and with the methods I thought would work well for me.


Milkshake the Cow wanted to be in the picture "for scale".

The clutch folds in three and has a great little pocket for holding a few diapers and wipes for occasions when I want to just stick it into a different purse rather than carrying a diaper bag.  Like Phin's, I used a layer of batting for padding and iron-on vinyl to make the inside easy to wipe clean. The outer edges are bound in bias tape and I sewed a button and a small elastic loop on as a closure.

And that's it!


I have to confess that I'm pretty smitten with my bag.  I love the fabrics I used, crazy though white may be. I hadn't considered that Raspberry could be born in December, but with each passing day a white bag somehow seems more appropriate. 

And the bag and it's accessories are exactly what I wanted - lots of room and lots of options. It's not going to be entirely practical for every day use because of it's size. But when we go spend a day with grandma and anticipate needing things like extra clothing, bibs, burp cloths, toys and such, this will hold it all. And I think it's really beautiful.

Monday, November 24, 2014

Done, Diggedy Done! "His" Diaper Bag: V8990

Finally! Just 3 days short of my due date (um, one now), I managed to finish the first of the two diaper bags I've been working on.  This one is for Phineas.


The "Daddy Diaper Bag" is definitely a generational concept. It's really quite normal for current new parents. Just google "daddy diaper bag" to get a sense of what's out there. But I've been met with a variety of interesting responses from our parents' generation - laughter (like I had made a joke), surprise, raised eyebrows, questions - when I said I was making Phin a diaper bag. Did fathers really not take their children anywhere on their own before they were potty trained back in the day or did they carry their wife's bag? I'm really glad norms have changed and fathers are now much more active parents and partners. Anyway, since Phin is already talking about the many things that he and Raspberry will do together, he certainly deserves a fun bag that he is happy toting around. 


Sigh! Indoor photos stink!


Orange is Phin and my shared favorite color. So, I used a bright orange 9oz cotton canvas that he picked out  for the outside and a fun retro cotton print that has the sort of ads you would expect to see in  the back of a 1950's  comic book for the lining - x-ray glasses, toy rocket ships and spy gear. I think it's a fun combo.

Phin wanted a messenger/cross body bag and he also didn't want it to be too large, so I used Vogue 8990 view C. There is nothing about it that makes it a diaper bag, and I sewed it with just a few changes to adapt the bag to Phin's specific requests and needs. It's a great pattern - just the right size, well constructed and versatile.

Hardware
I love using hardware in my bags. I think it gives a much more professional finish and makes for a sturdier bag. I understand why pattern companies don't  use more in their patterns - you can't find a lot of specialty hardware at the local fabic or craft store. But I wish they did give more options since most hardware (buckles, sliders, magnetic snaps, webbing) can be purchased on Amazon. That said, this pattern uses much more than most - a big step in the right direction.

Adjustable strap: webbing, bar and slider


For Phin's bag I used quick release buckles for the closures, I added a bar and slider to the webbing strap so the length would be adjustable, and I added feet to the bottom of the bag. I interfaced with fusible hair canvas and used artists plastic canvas to give the bottom of the bag support.


Quick release buckles


Pockets
The view that I made of the pattern already comes with two terrific pockets under the flap, which will be useful for holding little toys or teething rings and other small things.


Teething banana in a pocket


In addition, I made a few design changes to the inside of the bag to make it more suitable as a diaper bag. Phin specifically asked for a zipper pocket so he would have somewhere for his phone and wallet where they couldn't fall out. I rely heavily on Kenneth King's Craftsy class whenever I sew a welt, which I blogged about back in January and there is a whole "chapter" on zippered welt pockets which I've been wanting to try.


Zipper welt pocket

I also sewed a big pocket with an elastic top for holding diapers, wipes and such.


Multi-use elastic pocket


Finally, though not a pocket, I added a lanyard with a D-ring for Phin to attach his keys since he carries them on a carabiner.


Keys


Changing Pad
The one (very needed) accessory that I made was a matching changing pad.


Changing pad folded in thirds


There are patterns and tutorials out there, but I used the finished  inside measurements of the bag to come up with an appropriate size mat (14.5" x 33") instead. I cut pieces in canvas, lining and batting, and then trimmed the corners into curves using a round coaster as a guide. I laminated the lining fabric with iron-on vinyl, which works surprisingly well. This way the changing pad can be easily wiped down. The whole thing is simply sewn together using bias tape around the perimeter.


Dragon the Hippo gets in on the act.
 
Easy peasy!


Mischief maker!


And that's it.  After so much simple sewing, it was really nice to sink my teeth into a more involved project. Bags aren't difficult at all, but they do require slow and precise sewing, good execution, and the thoughtful use of hardware and underpinnings for structural support. Really, they are a series of small tasks. What was nice about sewing this while I have been on maternity leave is that I could work in little bursts when I had good energy and attention, making one pocket or component at a time.


After making six diaper bags for others over the years, it's nice to have finally made one that is staying here. And I was happy when Phineas commented that the bag was comfy to wear.  I hope it gets lots of use.