Showing posts with label Pimp My Skirt. Show all posts

Thursday, May 25, 2017

Lovely But Not What Was Planned

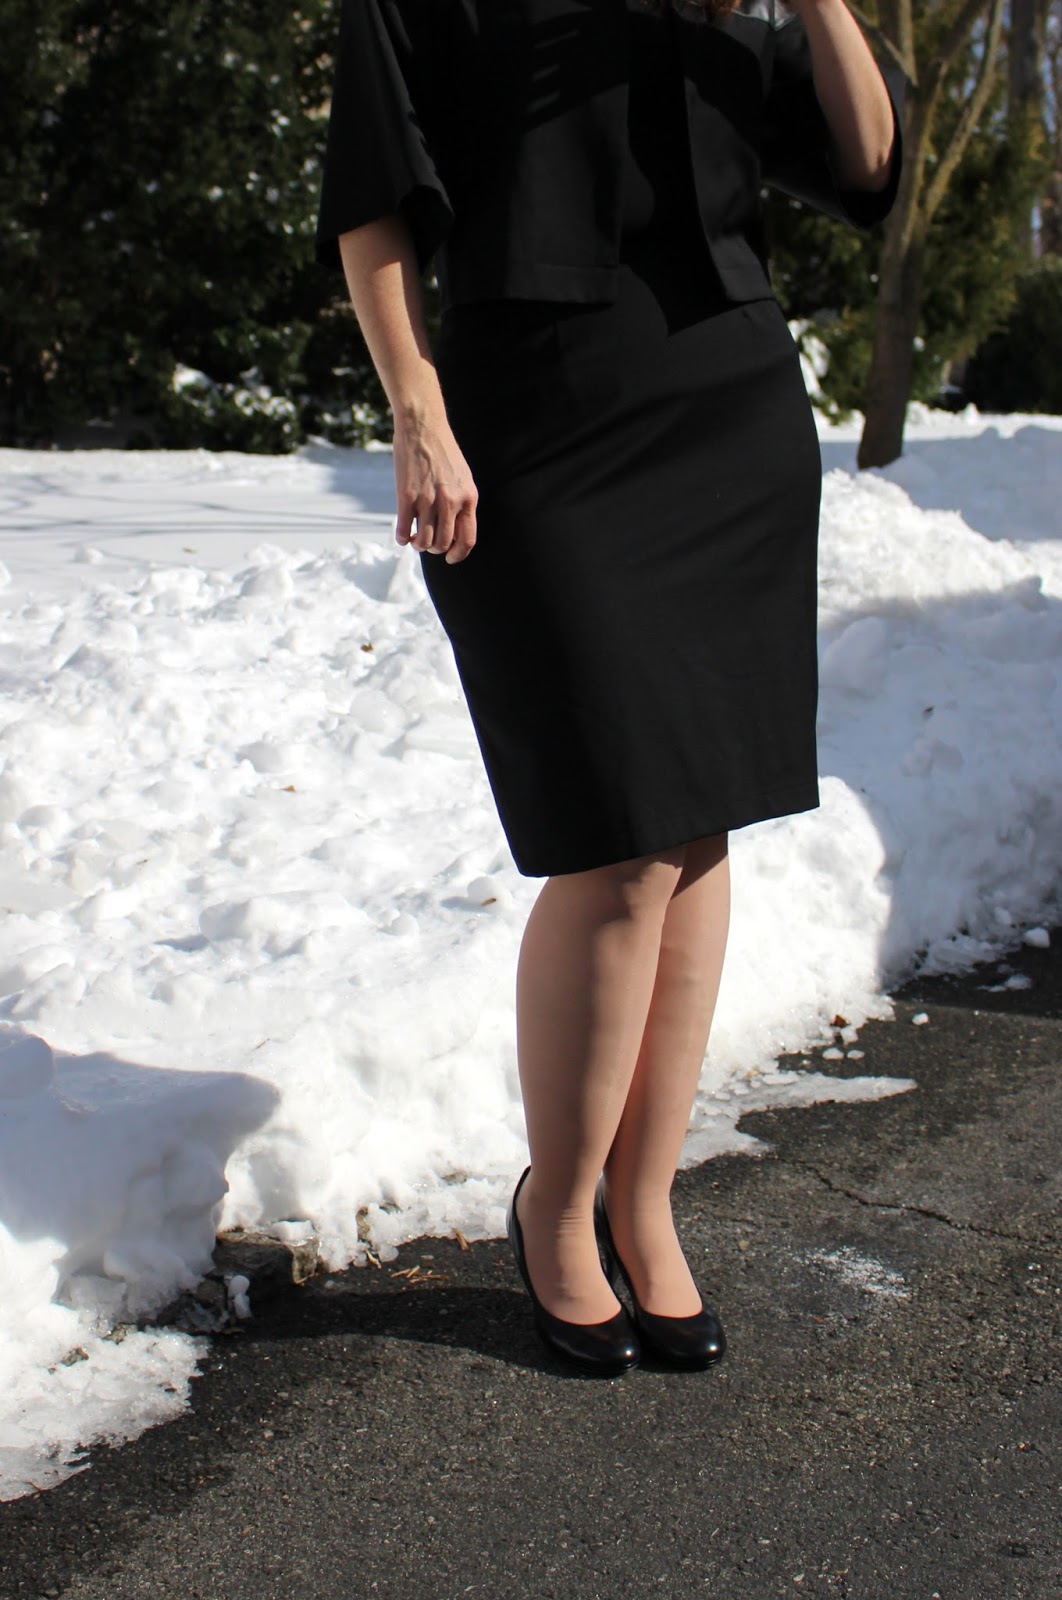
Didn't my sheath dress come out beautifully? Amazing, considering the hot mess it was just a week before completion.

After being worn all day

Because I am into keeping things real, this is how it looked after wearing it for 11 hours. I think the wrinkles/creases are much more pronounced in photos than in real life.  Isn't that always the way?


Here's the story behind this dress. I'm really enjoying having trouser and skirt TNT patterns. So, I decided that I should add a basic bodice block to my TNT catalog for sewing tops and dresses, when married with my pencil skirt block. I love a good sheath dress and have far too few.


I've had McCalls M7279, a Palmer/Pletsch sheath fitting pattern, in my stash for some time. It seemed like a good place to start. The pattern has lots of alteration lines on it and the instructions guide you thru their method of tissue fitting. I started with a size 12 based on my high bust and went from there, doing an FBA, adding length to the bodice and width to the sleeve.  


A few muslins later, I felt like I had the bodice fit worked out well enough. However, the sleeve was still not great. I really think that my body's arm/armscye simply must not be normal.  I worked a bit more on the sleeve but was running out of steam. And since I planned a sleeveless sheath, I decided to go ahead and sew it, leaving further sleeve muslins for another day.

So off I went. I wanted a less conservative neckline than the pattern shows so I traced a copy of my pattern but then lined up and traced off the neckline of M6699, an OOP pattern from a few years ago. I used my TNT sheath for the skirt portion. I picked out a pretty black and white fabric that I bought at Paron fabrics (RIP) and cut away.  This is where things went off the rails.


After multiple muslins, I should have been able to pretty much sew and just tweak the fit here and there. However, the fabric, which was a cotton blend woven with some lycra, turned out to be MUCH more stretchy than anticipated. It may as well have been a knit. My machine kept complaining and making snarled up bobbin nests until I switched to a stretch needle. In the end, I used all stretch/knit fabric techniques and tools for this dress - the seams were finished with my serger and I used a stretch twin needle for the hem.

It was so perfect and then I had to rip it out and redo


My first pass at sewing the dress came out enormous; the dang thing just grew and stretched. And since I had actually sewn the darts, zipper and waist, I had some unpicking to do. The dress was huge everywhere. I even had to undo the finished zipper so I could take one inch out of the waist between the top and bottom halves, like a swayback adjustment. Many hours of fitting ensued, including taking in 2 inches at the waist - 4 inches total circumference. I always find that this much post-cutting manipulating leaves its mark.  My darts are imperfect and refuse to smoothly disappear, although this could also be because of the fabric.


All that aside, when it came to doing the neckline, I had a moment of inspiration. The fabric has two pretty sides which are negatives of each other.  I decided to bind the neck and armscyes with the opposite side of the fabric for a little contrast. I really like the effect even if next time I would trim the armscyes back a little.


I should have stretched the binding a little more when I sewed it for a more snug fit. 

In the end, I do love this dress and I do like the fit, although as a test run for a TNT pattern it is incredibly useless. I learned nothing. I actually may go back and draft a bodice sloper instead of using a commercial pattern. For all the muslins and work, I think it may have been easier to start from my measurements. We shall see.


And here are a few more pictures so you can see how I actually styled and wore it to work the day we did this photo shoot. Bonus: Taco the photo-bomber.


I feel professional, yet chic in this outfit. Ann Taylor would approve, don't you think? LOL  And I did get compliments from my colleagues on the outfit.  Best of all, it is super comfy since it is basically like wearing a knit.


He really is the best accessory


Anyway, I am thinking that I will draft a bodice block instead of altering a pattern. It would at least help me start out closer to the end goal.  Have you drafted a bodice? Do you have a preferred method or set of instructions? 

Tuesday, April 11, 2017

Mini Wardrobe Pieces 3 & 4: The Skirts!

This is my attempt at a proper post about drafting my pencil skirt using Kenneth King's The Skirts CD-book.


At some point last summer I decided to sew a pencil skirt and went on the hunt for my pre-baby self-drafted skirt pattern. I had spent a lot of time on it and really achieved a great fit.  But I couldn't find the pattern anywhere. During pregnancy a lot of moving and reorganizing happened as we made space for Taco. I spent a lot of time looking, but in the end concluded that I must have tossed the block and patterns, thinking that they would probably never fit again, even though the skirts I made from them still do. Sigh.

A post shared by Clio (@cliophineas) on


So, I went through the process of carefully measuring and re-drafting, with Taco helping. Naturally, moments after cutting fabric for a wearable muslin I found the original pattern. Go figure. And the patterns are virtually identical, aside from Taco's creative scribbles on the new one.


Anyway, the wearable muslin - the turquoise skirt in the photo above - really has never been particularly wearable, and not for any fitting issues. It's a bit of a fabric fail.  The stretch cotton sateen I used is unbelievably clingy and afflicted with a terminal case of static cling.  Seriously, it sticks. I've tried a slip, tights, no tights... it's a clingy mess. But the actual fit was fine. So, when I was doing my mini-wardrobe, I sewed up two skirts - one in suiting and one with a faux leather front just for fun.

Faux leather skirt!

I honestly think that drafting your own basics is a great way to get a perfect fit.  And a skirt is a great place to start, since they are the easiest garment to draft - no worries about fitting your shoulders or crotch or other tricky areas. Kenneth King's method is solid and has good fitting tips sprinkled in for good measure (eg: for those with a 10" or more waist-hip difference, he recommends twin darts, which really improved the fit for me.)  I did more of a comprehensive review when I first used his method in 2013 - here.


I haven't 100% nailed the fit with these first two skirts. I was a little sloppy transferring changes back to my flat pattern, but I think I am almost there.  And now that I have a good working pencil skirt, I may actually go back and draft a straight skirt too, since the pencil skirt is supposed to be a bit more slinky and curvy.


One of my planned uses for this pattern is already in the works. If you saw my IG feed, you know I am working on a sheath dress. Rather than reinventing the wheel, I used this skirt pattern as the bottom, adjusting the dart placement to line up with the bodice darts.  Here is a sneak peek of the back waist area with invisible zipper, if you didn't see it on IG.


Oh! One last thing. So, the faux leather that I used for this project is what was left over after the peplum top I made a few years ago. Remember that project?  Well, you will be pleased to know that I still have that top and it goes great with the faux leather skirt. I haven't actually had an occasion to wear the two together, but the next time I have a reason to don as much faux leather as possible, I'm ready!

Wednesday, March 29, 2017

Mini Wardrobe Reveal! TNT Patterns for the Win!

Life and sewing are funny. Somehow I find myself super excited about what might be the most sensible and boring sewing project that I've ever undertaken. Back in January I posted about how my plan to sew trousers exploded into a mini-wardrobe project. Well, here are the results.


Behold!! It's my 5 piece mini wardrobe primarily for work, composed of a jacket, a dress, trousers and two skirts. A little recap on how this all happened...

If you follow me on IG, you might remember that back in September I redrafted a pencil skirt pattern from Kenneth King's The Skirts. It's more basic than my normal sewing but will lend itself to lots of style manipulation. This is the wearable muslin that I made but never blogged.


But I set it aside temporarily to work on what I really need: more trousers! I used BurdaStyle 9/2010 #115, which is a tall pattern, to make a pair of lined trousers. You've already seen my gold wool trousers from this pattern, which was actually my second version.


For this first version, I pulled out a large cut of black cotton blend suiting from stash to sew up a hopefully wearable muslin. After some final tweaks, the fit turned out to be nearly perfect. So, not a wearable muslin at all.


Wow, I don't really love these shoes with these trousers. Oh well.


Encouraged by my success, I started playing with the suiting fabric and realized that I had more than enough to also make a pencil skirt using my newly drafted pattern and potentially a cute little jacket, too.


And thus was born my mini wardrobe for work. I used OOP Butterick B5567, which I have been meaning to sew for about a year, to make a cute little jacket to go with the skirt and trousers - a 3 piece wardrobe. Since I had some faux leather in my stash, I decided to jazz up the jacket with some faux leather parts, as you can see.

But why stop there? I had enough faux leather for a skirt too! Admittedly, it came out a bit clingy. Maybe it will be saved for date night since Phin seemed to approve.


And since I had a smidge more faux leather and some ponte, I decided to round out the whole thing with a dress.


So, there you have it. My quest to fit my bottom half inadvertently led to a mini-wardrobe project! More on each of these makes in the coming days, but I'll leave you with one more collage of the five pieces.


Monday, November 18, 2013

Finished: High Waisted Couture Style Skirt! Yaaaayyy!

Here's my couture style high waisted skirt! With the holidays coming, and lots of occasions for dress up, I decided to style it as a day-to-evening outfit for these photos. And I even used props and accessories for the photo shoot. So, you know I'm super excited (!!!!) about how it came out.

For day, I'd wear it with a cropped jacket and boots...

On my commute (prop coffee mug and tote)


I'm just as happy with the fit of this skirt as the original version. Really, for a pencil skirt for me, self drafted is the way to go. As a reminder, I took my original draft, and converted two front darts into princess seams and extended the waist by 4 inches (details here).


Hmm, maybe a final pressing would have been advisable. Oh well.

My original skirt had an extra pair of front darts which, for the pear shaped/those who have a significant difference between their waist and hips, helps prevent distortion over the hips. You couldn't really see the darts in my original wax cloth skirt due to the busy print. However, here you can see that my skirt actually has that extra set of darts next to the princess seams.


Someone needs a haircut. Yikes!


Given that it was an afterthought, I'm really pleased with how the front slit came out.  It didn't occur to me until after I was half done sewing that it would be more fun to move it to the front, but I'm glad I did. It's really rather functional and I love the style.


Front slit

OK, so now you've seen one way I could wear it to the office (really, I have loads of options!). But here's where I decided to change for an evening affair.  A quick change of shoes and accessories plus an up-do transform the outfit for a holiday outing or date... (Pretend it's night time and I'm off to somewhere elegant, like a holiday concert or party.)


I can sit in it!

Here you can see how high the boned waist comes:


I may take some additional photos with a different color top so that you can see the waist a bit better. The corselette is definitely doing it's job. I'm not sure that slouching in this skirt is really an option. 

So, here is my hand-picked zipper. I think I like it. I'm not 100% sure, but that's more because of my imperfect execution rather than anything inherently wrong with hand picked zippers. It's supposed to create a little dome/spine where the fabric meets at the zipper, which it does. This is supposed to relax after a few wearings so that it lays flat. We shall see! 

Hand picked zipper

 I think that's all there is to tell about the outside of the skirt....


Date night!

So now, for those of you who like to see all the inner workings, here are some of the inside details...


Waist stay
I added a grosgrain waist stay to anchor the skirt and bones to my waist. The only thing I didn't think of was that I would be tucking a top into the skirt most likely. But there is enough wiggle room for it to go under the stay, anyway.

Waist stay and hanging loop

Above you can see that I tacked the stay in to all the seams and darts, making sure to go thru to the corselette, but not to the outside. Also, I added silk ribbon as hanging loops. When I'm wearing the skirt, they lay flat along the inside of the waist. But when I hang it: 


Hung up inside out.

Here's the lining, which I finished with narrow hem lace. 


Lining at the hem

And underneath, here is the hem and seams. I finished the hem with hem lace and I left the seams raw and catch stitched down with red thread for fun. 

Finished details

Lastly, here is the slit from the inside. At first, I just attached the lining with it's beautiful lace edge with a thread chain at the hem. But during the photo shoot it kept peeking out. So, I'm going to slip or fell stitch it in place before I wear it out.


I don't really think that there is much else that I would have done differently. I had several hold-ups making this skirt because of my travels and schedule, but it came together very quickly in terms of hours spent on it. Working with my custom skirt pattern definitely helped. Also, for the amount of work that I wanted to do, I think I picked the right blend of couture and regular sewing techniques. The beautiful fabrics that I was working with - textured wool suiting from Beckenstein and leopard organza from Paron - kept me motivated and behaved beautifully at every step.

Ready for the holidays!

So that's it! I think my skirt is classic, but sexy and I feel like I've made it my own with all the beautiful details. And now I plan to wear it non-stop for all of the holiday functions that I have coming up. Woot! And I have a few tops in the works, so expect to see it in a supporting role in future projects.

All posts about my skirts can be found under the label Pimp My Skirt

Tuesday, October 22, 2013

More Geekery: Hand-Picked Zipper and Waist Boning

I'm a little pouty. I didn't finish my skirt over the weekend which means I'm not taking it on the business trip I'm currently on and not wearing it to the fabulous place that I am going to while on said trip.

Yeah. Oh well.


This is mostly because I  made the slit on the wrong side of the lining. Naturally, I realized this only after finishing trimming the slit with this lace. 


D'oh!!
So, I had to spend some quality time with my seam ripper. Oh well. So, instead of showing you the final results, let's geek out some more about the details.

Zip-a-dee-doo-dah: Hand Picked Zipper
I was really enjoying the hand sewing, so I decided to hand pick my skirt's zipper. Also, because this zipper needs to zip a snug corselette, I decided to use a metal toothed Excella instead of an invisible zipper for extra strength. Combined with the hand stitches, this should be a very secure closure.

I did a hand picked zipper once before, when I sewed a silk dress to wear to the wedding of a dear friend. I had a great recap of the skill in Susan Khalje's Craftsy class. But if you are not taking it, you can find the tutorial that she did for Threads magazine here. In truth, I think it's easier to master a hand picked zipper than a machine sewn one. The slower pace of sewing by hand means you have much more control of the fabric.

Hand picked zipper
I have a confession. I used bees wax which I pressed into the thread before stitching. You may remember that I once said something along the lines of "pressing beeswax into thread is not something that I ever foresee myself doing. Honestly, I think it would be just one thing too many - the straw that breaks the camel's back".  Yeah. What can I say? I drank the Khalje KoolAid on this one. It was delicious, btw. There are many things that I have not foreseen; I'm glad I have the flexibility of nature to allow for a change of mind.

Have a Seat: Boned Waist
Gail asked a very astute question about whether I would be able to sit in a skirt that had boning through the waist area. The short answer is yes, I plan to sit in this skirt. But I thought we should have a chat since it's an excellent question and was a consideration. Here's how I know that I can sit...

First, this was not an original idea. Marina of Frabjous Couture sewed a beautiful high waisted pencil skirt with boning that she documented for Burdastyle, and which I had the pleasure of actually examining in person. So, others have done it before.

Next, choice of materials is one of the most important in sewing, right?  Most RTW boning that I've experienced has been the horrible plastic variety that is rigid and when you sit or bend tends to dent inward poking you mercilessly in the ribs. It warps easily and, once bent, will forever jab you in that same place.


Top Rigilene; Bottom Spiral Steel

Thankfully, not all boning is created equal, and what is available to those of us who sew is light years ahead of the RTW junk. The two that I have tried are spiral steel and rigilene. Both are much more flexible than plastic bones and bend with your body as you move and then bounce back instead of jabbing you. I chose the rigilene, which is so flexible it comes on a roll.


Incredibly flexible spiral steel boning.

Lastly - and here's where I've got a question for all of you - after I sewed the boning to the corselette, I basted on a zipper and wore it around the house. So, I know that it is wearable. When I sew a muslin, once I think the fit is good, I wear it for more than a perfunctory try on. I walk down the stairs, sit on the couch, rummage in the fridge, head back upstairs, sit on the bed, pick things up off the floor... Am I alone in doing this sort of roving try on?

Anyway, as I hinted, I'm currently in London, crazy busy with work and not wearing my skirt. London friends, if you happen to be free on Saturday morning/early afternoon I will be around - just holler. I know, I am terrible for giving no notice.

Wednesday, October 16, 2013

Pattern Play + Gorgeous Fabric + Couture Sewing = Pencil Skirt Excitement!

I'm *so* excited about my current sewing project that I'm going to tell you everything! Really, really excited. Like, I-might-explode excited. Wow, I hope I don't bore you with the uber-sewing-geekiness of this post. Here goes:

After my successful wax cloth pencil skirt, I couldn't wait to start playing with my self-drafted pattern. I know, what could be so exciting about a pencil skirt?  Just go with me here.

So, as you recall I had been thinking about sewing a matching bustier style top to go with the skirt, but I put that on hold after a few muslins didn't work out. I had already bought boning and I had taken a Building a Bustier class with Kenneth King, and I'm currently in the middle of watching Susan Khalje's Couture Dress Craftsy class. All of these things swirling in my brain started to converge into the idea of a high-waisted couture-style pencil skirt.

Like this.

Here's what's done...

Pattern: I traced off my pencil skirt (minus seam allowances), converting two of the four front darts into princess seams, and then added a 4 inch extension for the high waist. I did this by extending the seam lines straight up, slightly changing the dart width to address the very slight difference in size between my waist and midriff. Then I added 1" seam allowances. 

Center Front Piece with extension

Side front with dart with extension

Muslin:  Once I was happy with the drafting, I cut and carefully marked a muslin of just the top 8 inches of skirt - the waist extension to four inches below the waist, so that I could see how my drafted changes worked. 


Muslin

The other reason I chose just the top 8 inches, is that I will use boning in this area to make sure that the waist doesn't collapse. Since my (very firm) muslin fit perfectly, I decided to use it as the layer that will hold the boning - basically a built in corselette, to support the skirt's high waist. 
 
One of the things I learned in Kenneth King's class is that it's perfectly fine to use rigilene  boning.  For my first project that required boning, I used spiral steel boning, which is wonderful, but more time consuming to work with. The nice thing about rigilene is that you can sew right on it instead of having to add casings to contain the bones like you would with steel spiral. I think this is the right decision for a skirt that is a blend of RTW and couture techniques.

With boning

Fabric: One of my best recent Garment District discoveries is Beckenstein Fabrics/Fabric Czar. They do bespoke tailoring and also sell beautiful suiting, linings and shirtings. My discovery: they have a remnant table where you can get 1-ish yard cuts of crazy beautiful suiting for $40 (aka less than a pencil skirt at Banana Republic). The 1 1/3 yard piece I bought is a gorgeous wool with a textured weave. It's so unbelievably soft that I suspect that there is some cashmere in it. Also, it was 64" wide. More than enough for my skirt.

Wool suiting from the Fabric Czar

And since I was now working with beautiful suiting, I decided that it needed equally awesome underlining. So, I pulled out this leopard print silk organza from my stash. It's from my "hot sauce" haul of fabrics.

Leopard print silk organza - it's somewhat darker in person


Sewing: Fabrics were cut, underlining was basted by hand to the suiting, and the lining (Bemberg) was sewn last week. This past weekend, the skirt seams were sewn, too, and I've been catch-stitching the seam allowances to the underlining during the week. So, this is really moving along. I've been doing a blend of couture techniques (mostly hand sewing) and machine/RTW sewing.  I think this has been the best bang for the buck for this project.

My catch-stitched seams

I still have a lot to do. I have to sew in the zipper, which I may do by hand. Also, I need to finish the slit. Oh. Oh yeah, I forgot to mention that I decided that instead of a vent or slit in the back, there will be a slit on one of the princess seams on the front, a la Vogue 8873 view A. Lastly, all the layers need to be joined at the waist where I will also add a waist stay. Then, I'll just have to hem.

Have you ever been so excited by a project that your sewing geek side really goes bananas?